Thursday 24 June 2010

My LOTV cards!

I'm soo glad I've been introduced to Lili of the Valley Stamps! I love 'em. And I was lucky enough to win the blog candy recently....so just waiting for the new stamps to turn up. In the meantime, I've been making fairy stamps for my lovely nieces. We're going to Exeter to see them this weekend for their birthdays...


Nip over to the Other Fickle Pixie to check out her designs....

And this card is to wish my brother good luck in his new house. I made this card using my HobbyArt Town House stamps...proof that they're not just for Christmas :-)

Monday 31 May 2010

Acetate cards!

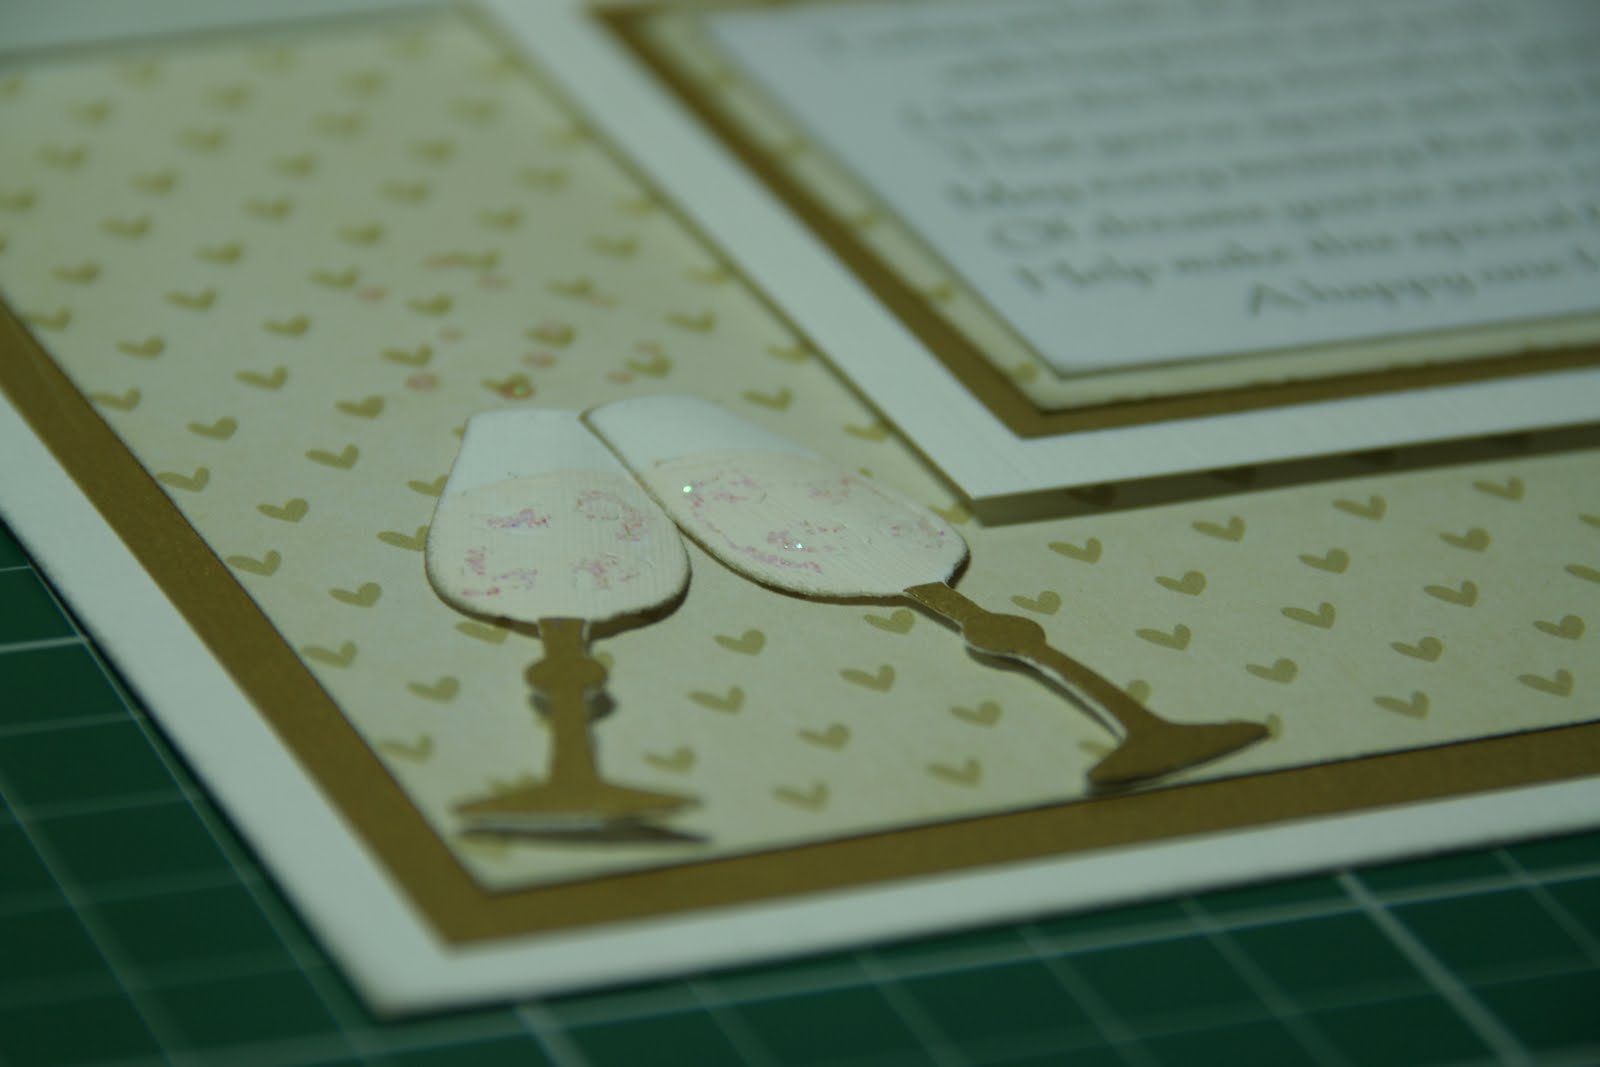
I love acetate cards...and I think acetate is becoming popular again in card making. I made this card on our recent craftavan weekend. I've simply replaced a third of the front of the card with acetate so the greeting shows through from the inside.

I've decorated this with simple flowers made with my nestabilities, but having just won the blog candy over on LOTV I'm going to see what I can do with their new stamps...released today!


I'm so looking forward to our next craft day in a couple of weeks! Pop back later to see what we've made!

YAY!

Thanks to LOTV! I've been very lucky to win the blog candy of their new set, released tomorrow (1st June). Can't wait to get my hands on them.... :-)


In the meantime, I'll have to make do with looking at the inspiring cards made by the DT at LOTV....


YAY!

Thursday 27 May 2010

So much LOTV Candy!


Seriously! Could it get any better. LOTV are giving away complete sets on their Thursday Challenge. Nip over now cos you only have three days!

LOTV Rock!


I've recently discovered Lili of the Valley stamps (thanks, Phill :-) ) and they are fantastic! Just waiting for the new release before I place my substantial order :-)

Can't wait....and if you can't wait either, nip over to their BlogCandy now...er...actually, don't! That'll be better odds for me :-)

Monday 3 May 2010

What I did on a wet Bank Holiday....

...enjoyed a very wet day at Sherwood Pines! We were wet through from the icy hail showers but we couldn't have had more fun looking for bugs and slugs under logs and playing baseball in what seemed liked subzero conditions! The bugs, by the way, had more sense and buried themselves well and the score...a draw, of course! The picture above shows Max at his happiest...covered in mud on the playground.

But after warm baths and bed for the kids, I actually settled down to make cards on my first Bank Holiday off in ages!

I wanted to make something quick....because it's been a long day and I've had these flower stickers knocking around for ages! I actually got them on the front of a magazine so if it all went wrong in my quick crafting session....not a big loss :-)

But I think they turned out quite well. I've used the popular easel card in A6 size.

To do this, you need to cut A4 card in half, longways. You then score one of the halves at A4 half fold and A4 Gatefold. The other half you need to cut in half to make two A6 size toppers.


For "Get Well Soon", I've used a brown and turquoise colour combination. I've added texture by running the brown card through my Bigshot with the Swiss Dots folder.


For "Just a note to say...", I've used a brown and pink colour combination. I've used Anita's spotty ribbon to cover the join of the cards and added a button threaded with string to the front.

For "Happy Birthday", I've simply used a jade green matted onto white and added an accent button.


Hope you like them....

Friday 30 April 2010

A Man's Card?


No glitter or fancy bows, tongue in cheek insult and no pink in sight? Does that make a man card? :-)

I made this DL card by covering one third of the card with embossed swiss dots (Cuttlebug folder) and two thirds with chocolate Doodles paper from Pink Petticoat. Don't forget to ink the edges! I used a bit of "manly" ribbon to cover the join but left it flat!! No bows!!

I coloured in a Pink Petticoat image using my promarkers and matted and layed this using the Doodles paper and card and stuck this near the top of the card using foam pads. I made the greeting ("You're how old?") using tiny alphabet stickers, matted and layered this the same as the image and stuck this to the bottom of the card using foam pads again.

Normally I'd bling it up a bit....but we're reliably informed this is one step to far ;-) But I might try a more glittery version of this.

Thursday 22 April 2010

Happy birthday, Oriental style


....or at least that was thie inspiration! I made this card using my Sizziz dies and XCut punches.


Starting with an A5 brown card blank, I trimmed orange bazzil to fit, rounded the corners and stuck it flat to the front of the card blank.


Next I used my "Branch with Leaves" Sizzix dies to make a swirly branch across the front of the card and cut white and orange flowers for blossoms using the XCut punches.

I stamped the greeting using Timber Brown Staz on and matted and layered this to the bottom corner of the card. Then I layered dragon files to the top corner.


I finally added a bit of sparkle to the centre of the flowers and dragon flies.


I liked the end result so much, I made another using a different colour scheme...


Thursday 8 April 2010

My clever son, Max!

Can't help but brag about my son, Max! After studying a card I made his brother for his birthday, he came up with this to give to his nana:


He amazes me with every card he makes and I'm soooo glad he enjoys it. He's turning into a fantastic paper mechanic!

Wednesday 7 April 2010

50th Anniversary Card

The printer wouldn't print, the colours wouldn't match and I couldn't decide on whether to go for hearts or flowers, but I eventually finished a 50th Wedding Anniversary card ready for my mum-in-law to take with her down south! It's always the same....you have a great plan, you've made similar cards before but for some reason technology conspires against you! Or maybe that's just my paranoia!!!!
:-)

Anyway, here it it:


It's an 8" x 8" easel card (I love that shape!) inspired by my very favourite Pink Petticoat papers. I added a 3-d poem on the base card as the stopper, a couple of sizzix champagne glasses on the corner and of course gold stickles to make it all shimmer.


I might have gone overboard with the gold but mum-in-law loved it!
:-)

Monday 15 March 2010

In the Pink!

As The Other Fickle Pixie pointed out to me the other day, while reprimanding me for not updating my blog, I always start with "It's been a while...". But once again, it's been a while :-)

I've been very busy making Valentine and Mother's Day cards, some of which I hope to post later....but since I've just finished making my latest card I thought I'd take the opportunity!!

Here it is:


It's always difficult to make cards for people you don't know...but flowers are usually a safe bet. Here I've used my new Sizzix Tulips for the first time, shaded and sprinkled with Pink Pastel Glitter from Stampendous (Annie's favourite glitter) and matted and layered on a dotty, Labels 8 frame from Spellbinders Nestabilities. A bit of ribbon and bling in the corner of a shocking pink A5 card....and finished! Seems so easy! So how come it's taken this long! LOL!